How to Plant a Tree

Imagine that there was one thing that you could do today that could mitigate climate change, nurture wildlife, and bring health and beauty to your community.
Planting a tree does this and more, and it all begins with giving a tree the best start possible. Here are planting tips, tools, and steps to set you and your tree up for success.
Quick Links
- Before You Plant: Tree Selection Guide
- Timing
- Tools and Materials
- Planting Step-by-Step
- Follow-Up Care
Timing
“When is the best time of year to plant trees in Northeast Ohio?”
Spring and Fall are the best times for planting new trees (Late March through early-June and late October to mid-December) when the ground is wet and unfrozen and temperatures are mild.
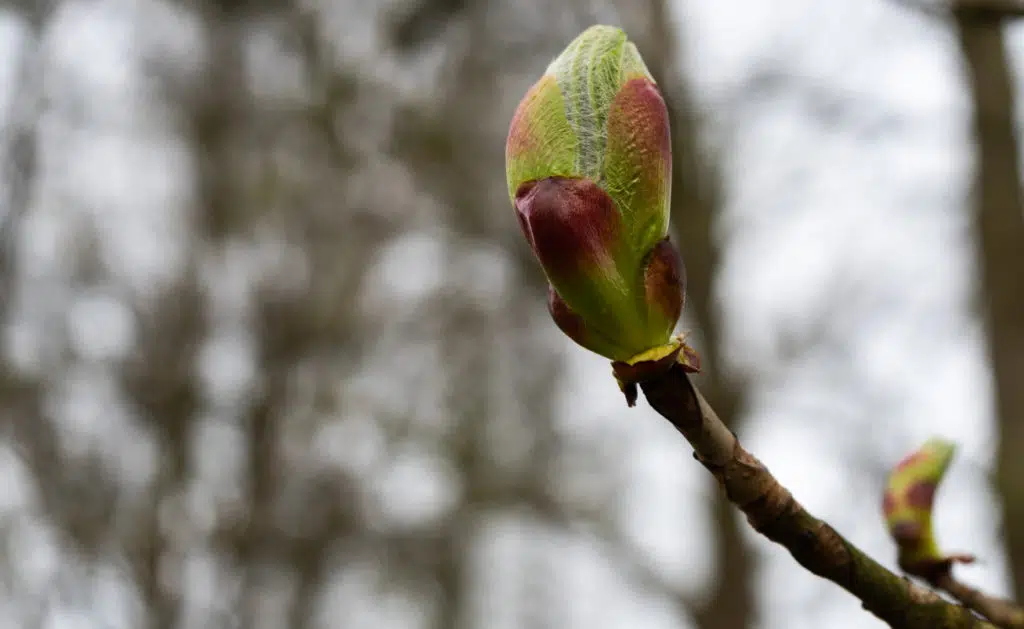
Deciduous trees
- Plant when the tree is dormant – either before the tree breaks bud in the spring or just after it loses its leaves in the fall
- Another good rule is to plant at least four to six weeks before either the extreme conditions of winter or summer are expected to arrive
Evergreen trees
- Evergreen trees transplant well in spring and fall
Spring Planting Benefits
It’s a popular time to get out in the yard and there is often better selection of trees available.
Magnolia, Willow, Dogwood and Birch are recommended for spring planting as they require more time to establish. Fruit trees are best planted in spring as well to avoid damaging their tender shoots.
Fall Planting Benefits
The leaves are off and there is less chance of sun damage to leaves or drought damaging roots. Since trees focus on growing new roots in fall, planting new trees in the fall helps develop denser, stronger roots.
Not recommended – Summer
Planting in summer’s heat is not recommended as it creates conditions too dry and stressful for the tree. If you must plant in the summer, plant a containerized tree. You MUST water it frequently!
TIP: If you can’t plant your containerized or B&B tree right away, we recommended you “heel in” your tree by digging an angled trench in a mulch pile, preferably in a shady spot, and setting the tree into the hole. Water generously before covering with additional mulch until ready to plant.
Tools and Materials
To facilitate easy planting, make sure you have the proper tools for the job!
Checklist:
- Gloves – to protect your hands
- Long Pointy Shovel – for digging and breaking up soil
- Soil Knife or ‘Hori Hori’ – for digging and cutting (one blade edge is serrated)
- Bypass Pruners – for pruning roots, limbs and cutting tags. One blade bypasses the other. Makes clean cuts.
- 5-gallon Bucket or Hose – for watering the tree
- Mesh Tree Guard – for protecting tree against deer, mechanized equipment, etc.
- Wooden Stakes – to keep your tree secure for its first year
- Tree Tie – wide, flexible material for securing tree to stake
- Small Sledgehammer – for pounding the wooden stakes into the ground
- Mulch – to protect tree, hold moisture, reduce weed competition, add nutrients and moderate soil temperature (use hardwood mulch – see our resource on Mulching for more)
Planting Steps
1. Select the site
Evaluate the needs of the plant and the conditions of the site before you make a purchase and make sure they are compatible. Consider whether the site’s exposure is in sun, part sun, or shade. Know the ultimate size of the tree – will it be too close to the house or power lines when mature? Is the tree’s purpose to provide shade, fall color, screen an unsightly view, be a windbreak or serve some other function? Is the plant hardy to minus 10 to 20 degrees F. in NE Ohio’s zone 5? Is the soil texture sand, loam, clay, well drained, dry, or frequently wet? Site incompatibility will result in the certain decline and premature death of the tree.
Tip: Urban soils are often so compacted and poor in organic content that they require some preparation or addition of compost during planting. Up to 20% organic matter (compost) by volume may be mixed with poorly-drained or nutrient-poor soil used for backfilling. But take note that fertilizer is otherwise not recommended at planting!
2. Call before you dig
At least 48 hours before planting, take a few minutes to call 800-362-2764 or 8-1-1, or visit e-dig to request the location of underground utilities (gas, electric and other facilities) near your digging site. This will keep you safe from personal injury, property damage, fines and utility disruption.
3. Examine the tree
Is the soil in the container dry? If so, give it some water to reduce transplant shock and make it easier to remove from the container. Are there broken, dead or diseased limbs? Prune them back to the nearest lateral branch without leaving a stub or cutting into the branch collar. Take care to not prune more than 25% of the live canopy.
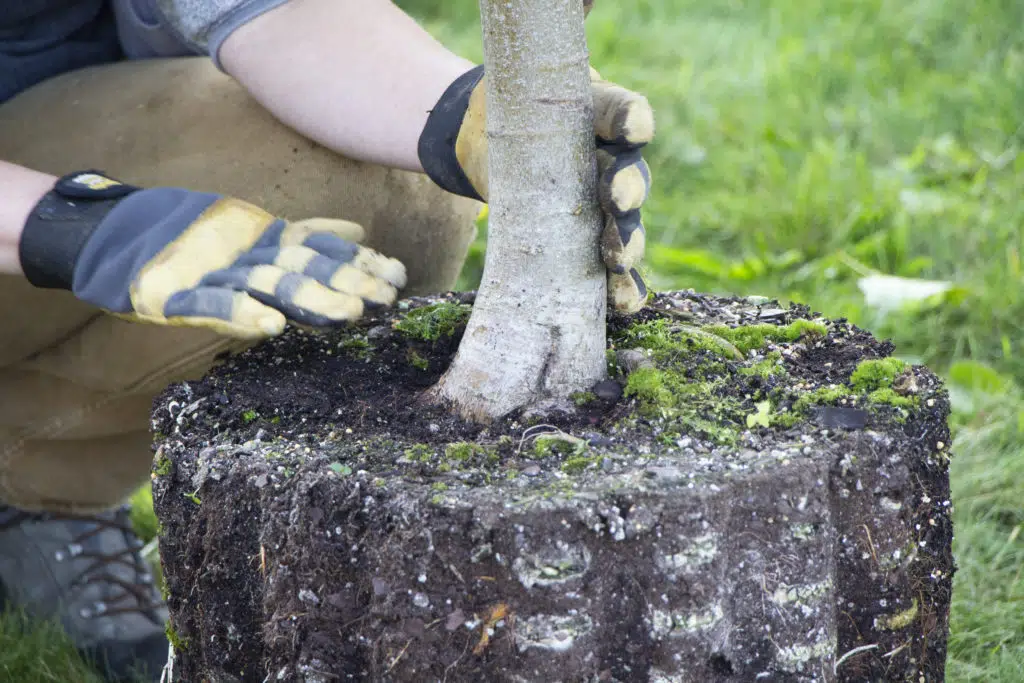
4. Prepare the tree
Bring the tree to your planting site: Only move the tree by the container or rootball and never the trunk or branches.
Locate the area at the base of the trunk where it flares out. This is the root flare: the zone where the roots meet the trunk. On balled and burlapped plants, the trunk flare is frequently one to several inches inside the rootball. Untie the twine and burlap and locate the trunk are, remove the excess soil above the flare. This will become the soil line.
Remove nursery tags, tape and bamboo stakes from the tree.
Tip: Finding the root flare and taking care to keep it at the soil line is very important! One of the most common mistakes is planting too deeply, resulting in poor vigor and growth and also a major factor in the formation of stem-girdling roots which in time can kill the plant.
5. Dig the hole
How deep? The hole should only be as deep as the rootball… the height from the trunk flare to the bottom of the rootball. How wide? 2 to 3 times wider than the root ball and saucer-shaped (gently sloping on the sides). Digging a broad planting pit breaks up the surrounding soil and provides emerging tree roots room to expand.
Do not loosen the soil at the bottom of the hole; the rootball must rest ‑firmly on undisturbed soil so the tree doesn’t settle.
Rough up the sloped edges of the hole with the shovel to make it easier for future roots to penetrate.
Tip: Place clumps of turfgrass in one pile, and soil in another. This will give you easy access for later steps.
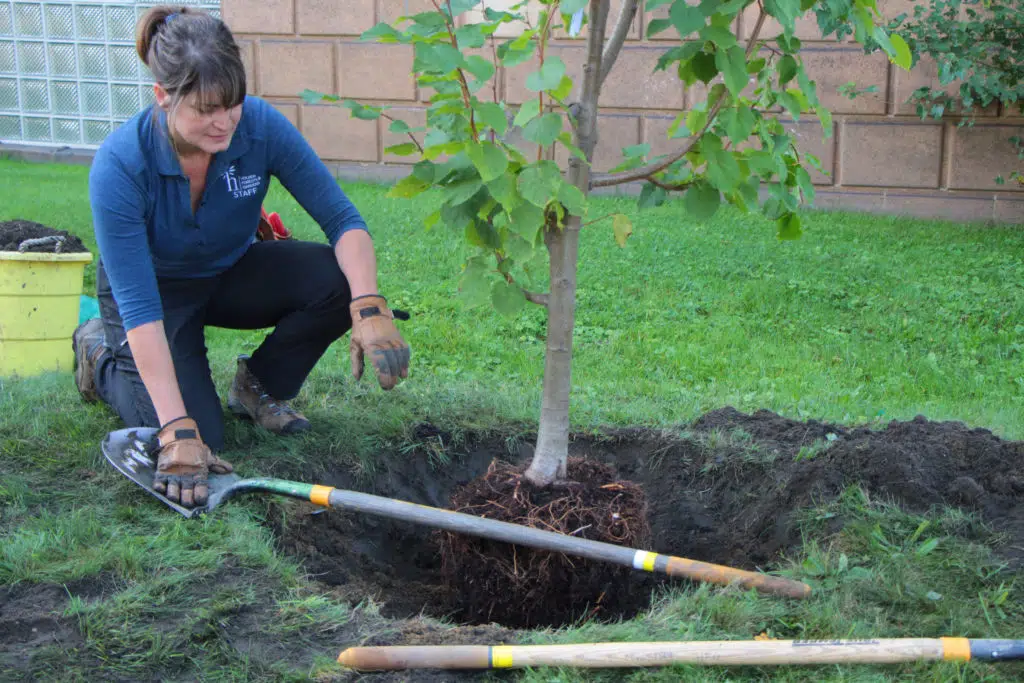
Balled and Burlapped (B&B)
Lower the rootball into the hole, keeping the tree’s root flare level with the top of the hole. Cut the wire cage and remove as much of it as possible; if it is left in place, the wires can girdle the roots. Cut and remove the burlap as far down as possible. Remove all tags, nails, and twine.
Containerized
Remove the tree from its container; gently tip the tree on its side to make it easier. Loosen the roots by teasing them out from the soil with your fingers. Straighten roots that circle around the root ball and prune those that turns at a sharp angle or point back toward the trunk. The roots should extend radially from the trunk like the spokes of a bike wheel.
For both B&B and containerized trees, backfill with the original soil taken from the hole until the fill soil is level with the root flare and existing grade, breaking up any clumps to remove air pockets. Gently tamp the soil at the level of the root flare.
Use the turf from your second pile to make a temporary soil “berm” 4 inches high, just outside of the rootball to create a watering basin.
6. Water
Slowly apply 10 gallons of water into the backfilled soil to help remove air pockets.
7. Mulch
Mulch around the tree to a depth of 3 inches and out to the dripline; keep mulch at least a fist-width (6 inches) away from the trunk to prevent fungi and rodent injury. Maintain a 3- inch layer of mulch from year to year and apply it after the soil has warmed in the spring.
Tip: Check out our Mulching (link) guide and, for goodness sake, don’t make a mulch volcano! Mulching up to and beyond the root flare is very unhealthy for trees.
(Illustration of correct mulching)
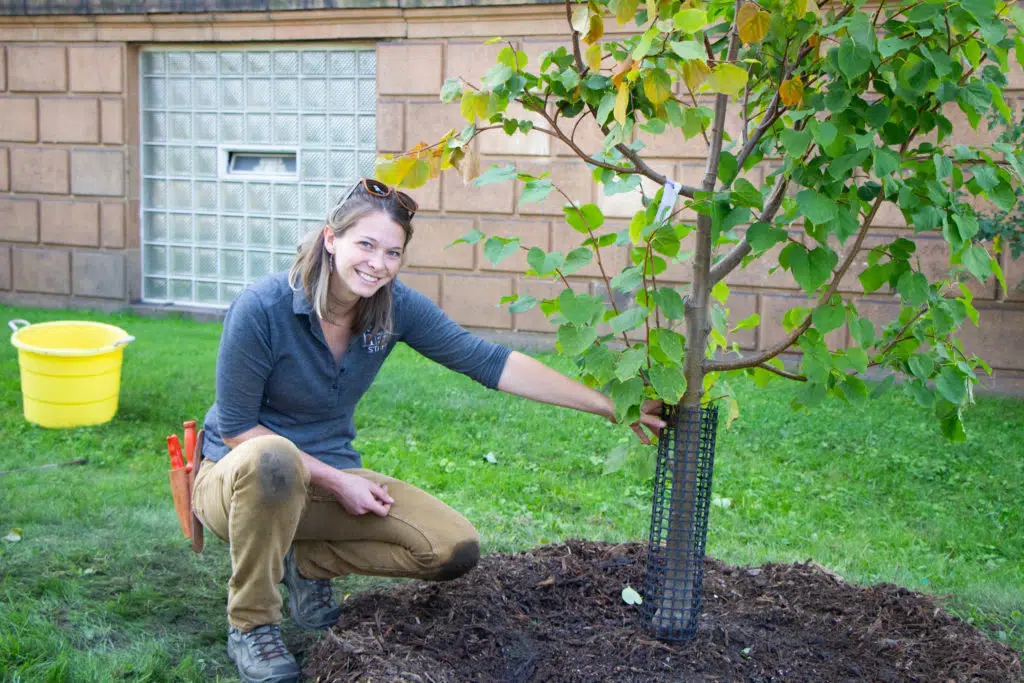
7. Protect and stake
Young trees are often damaged by deer rubbing their antlers against the tender bark or string trimmers gouging the trunk at the root flare. Protect the tender bark of young trees against mechanized equipment, deer and rodents with a mesh cage or tree guard. These covers should be placed loosely around the trunk of the tree and checked periodically to ensure they are not cutting into the bark or harboring undesirable critters.
Staking a tree is only necessary if it cannot support itself in the wind. If the root ball visibly shifts underground with a gentle tug of the trunk, the tree may need staking. Staking is typically not needed for balled and burlapped trees, though sometimes needed when their trunks are not strong enough to stand without support or to return upright after a wind. Stake as low as possible on the tree and at 90 degrees from the trunk to the stake. Correct staking encourages flexibility and proper trunk flare development. To prevent trunk injury, use flexible tree tie instead of rubber hose covered wire. All staking should be removed after one year.
Tip: Staking when not necessary can have detrimental effects on the development of a tree. When compared to trees that have not been staked, staked trees have less trunk diameter growth, a smaller root system and are more subject to breaking or tipping after stakes are removed. In addition, staked trees may become injured or girdled from the staking materials. For the most part, the sooner a tree can stand alone, the sooner it will become strong. Yet, staking does play a valuable part, if done properly, in protecting young trees from equipment, animals, strong winds and vandalism.
8. Water again
Slowly add 15 gallons of water into the mulched trough, allowing 5 gallons at a time to infiltrate before applying another 5 gallons. If using a hose, set on a trickle for 20 minutes.
Then, clean off your tools, collect them and any waste or remaining materials, and you are finished! But remember not to leave your newly planted tree high and dry…
Follow-up Care
The first 3 years after planting are very important—if you can care for the tree, keeping it protected and adequately watered during this time, it will have a much higher rate of success of growing into a mature tree. Set reminders to check your tree the first 3 growing seasons:
Weekly
Check the soil below the mulch for moisture. If it doesn’t rain at least twice a week or is especially hot weather, be sure to water your tree. The rule of thumb is 1.5” of rain a week, or 10-15 gallons (2-3 five-gallon buckets). This care is especially important in the first 3 years of a tree’s life. Check out our Watering resource for more.
Seasonally
Check on and adjust stakes and ties during the first 2-3 growing seasons to ensure tree is straight and the ties are not too tight or too loose; remove completely when tree establishes roots into surrounding soil. Replenish mulch as needed, and refrain from pruning for the first 3 years, except for broken, dead or diseased limbs.