Yeasts, brackets, jellies, clubs, crusts, cups, corals, molds, rusts, smuts, and mushrooms… What do these have in common? They are all different shapes and growth patterns of fungi! When we think of living organisms, most of us think of one of two things: plants or animals. But fungi are neither: They exist in their own kingdom, a unique branch on the tree of life that we scientists use to visualize organismal relationships. Even more surprising, fungi are actually more closely related to animals than they are to plants!
By the way: All mushrooms are fungi, but not all fungi are mushrooms! Mushrooms are fungi with a stem (called a stipe) and a cap.
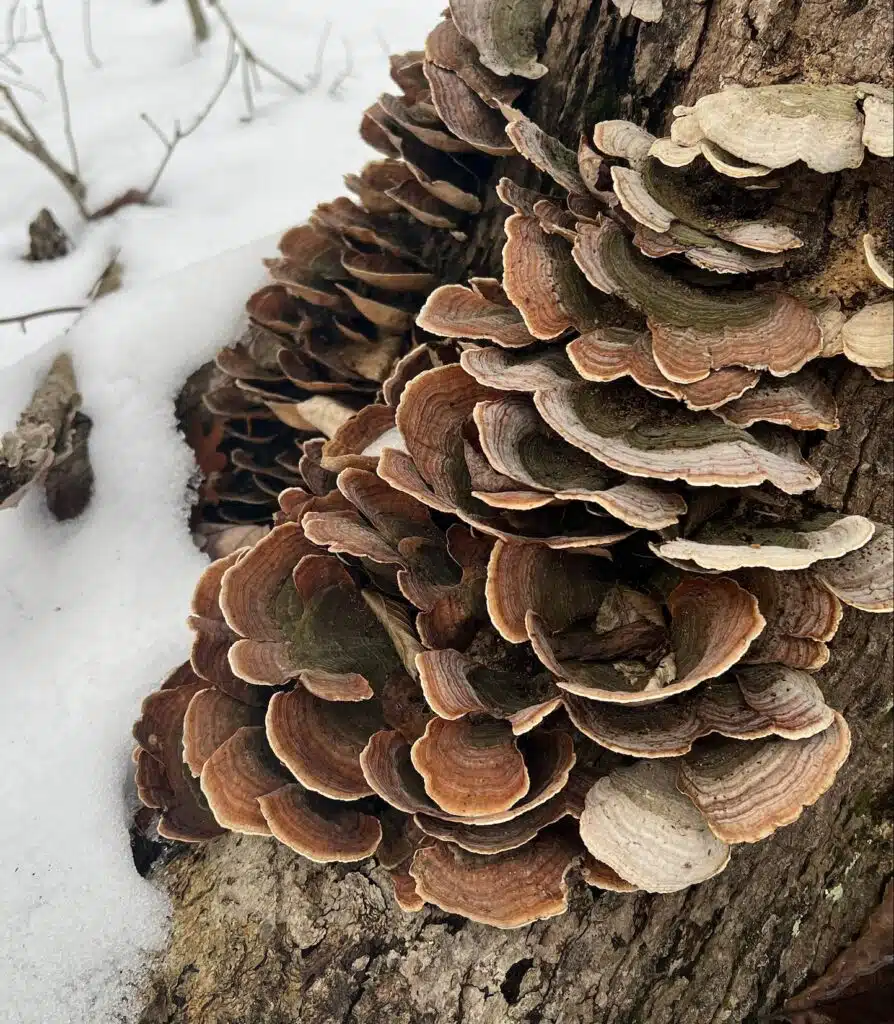
If they’re not a plant or animal, let’s talk about what fungi are. All fungi share a few defining characteristics. Fungi are eukaryotes, meaning that like plants and animals, their cells have a nucleus where DNA is stored.
They are also heterotrophs, which means that they eat! Unlike plants, they cannot produce their own energy through photosynthesis. But unlike most animals, fungi do not have stomachs. Instead, fungi typically excrete digestive enzymes to break down materials outside of their bodies, which they can then absorb.
Another feature that is unique to fungi is that they have chitin (the hard material in the exoskeletons of many insects) inside their cell walls, which allows them to grow through extremely hard surfaces like rock or concrete.
How to identify mushrooms and fungi (for beginners)
Now that we know what fungi are, I’ll give you a few hints for identifying them! While I don’t have enough room here to describe all the shapes that I listed above, I hope these pointers will be helpful for the budding mycologist in each of you!
Note: This list is not meant to be used for identifying fungi for food or medicine. If that is your intention, I recommend that you seek much more information and guidance before taking on that endeavor!
Step 1: Understand where’s it growing
Note the substrate, or the material that the fungus is growing from. Some fungi only grow in soil, some on living trees, some on rotting wood. Knowing what substrate the fungus is growing on can help you to understand its ecology, bringing you that much closer to an ID.
Step 2: Take a spore print
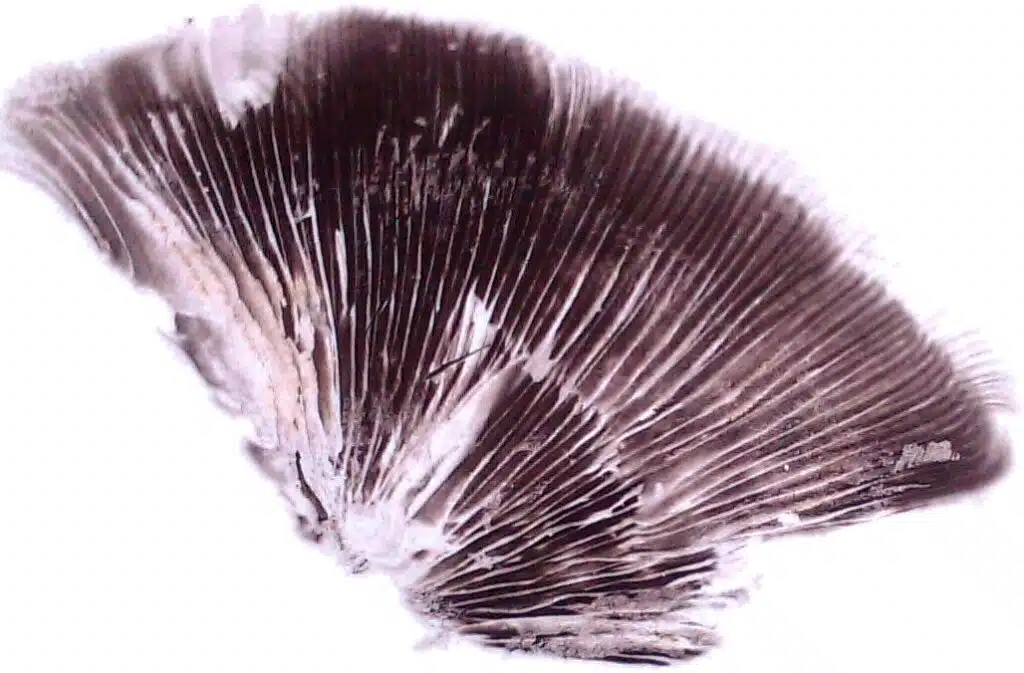
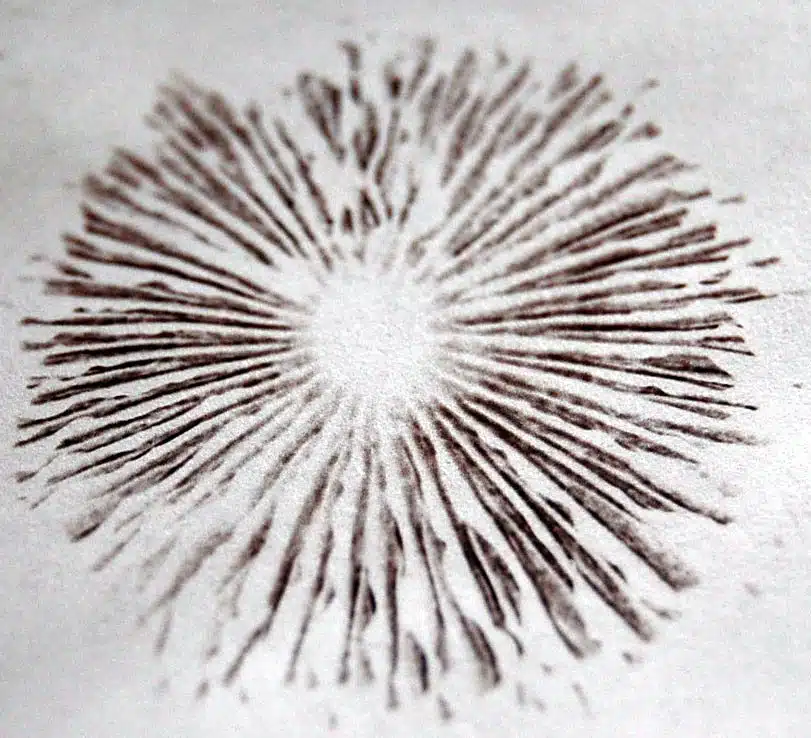
By laying the cap of a fresh mushroom on a sheet of paper and waiting a couple of hours, you can produce what’s called a spore print! These prints can be beautiful, and more importantly they help to determine spore color. Many field guides are organized by spore color, so this is an important trait to note early on.
Step 3: Look for life stages
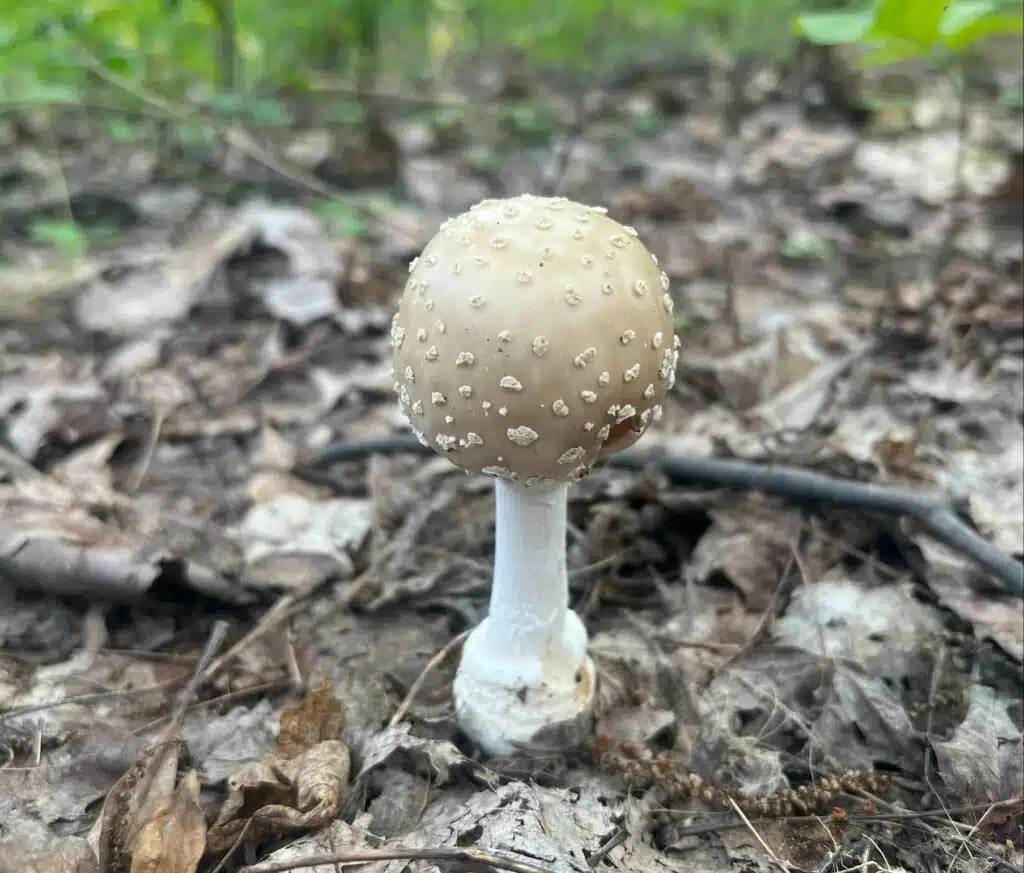
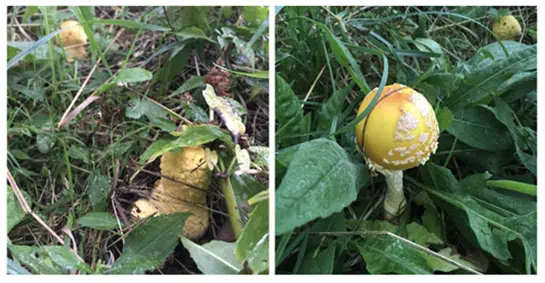
Next, look for individuals at different stages of development. The same species can look different at these different phases, and young specimens can be especially misleading! For example, the photos below show two different stages of Amanita development, one before, and one after, the mushroom emerges from the sack-like structure where it develops. We call this structure an ‘Amanita egg’.
Step 4: Collect the stipe
Collect the whole stipe, or stem, of the mushroom. The stipe can include many different clues for identification, like:
- the orientation of the stipe relative to the cap,
- the color and ornamentation of the stipe,
- whether it is hollow or not,
- whether it is brittle or tough.
Perhaps most important is whether the stipe is ornamented with what we call an annulus and whether the base of the stipe has a volva[AF2] . An annulus is a skirt of tissue around the circumference of the mushroom’s stipe. A volva is a sack of tissue at the base of the stipe (this can also sometimes look like a club). Some fungi have an annulus, some have a volva, and some have none. Amanita species, however, often have both an annulus and volva, which are remnants of the Amanita “egg” pictured above. The genus Amanita is common and attractive but includes many poisonous species!
Step 5: Look under the hood
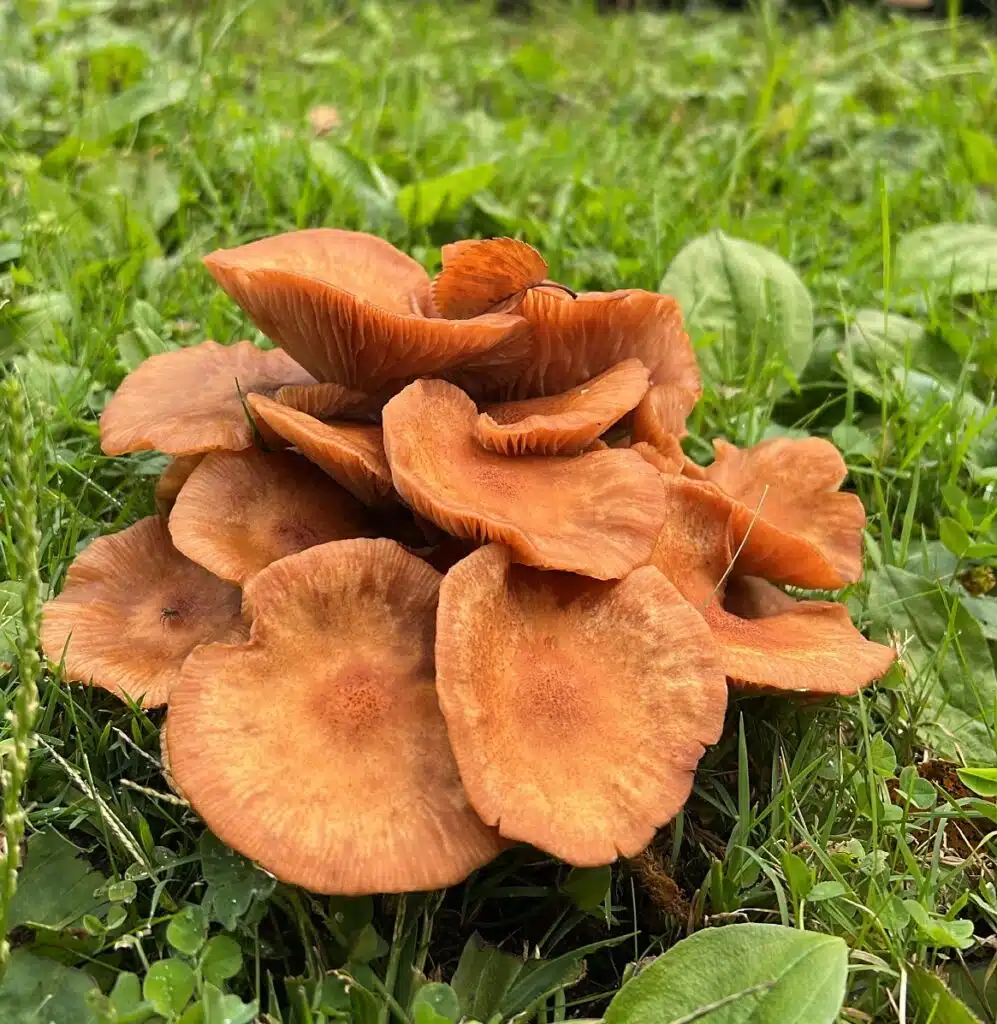
If the fungus is a mushroom and has a cap, look closely at its underside. This is often where you’ll find the fertile surface where spores are formed, called the hymenial layer.
- Do you see gills or pores?
- What color are the gills or pores?
- What’s the spacing of the gills or pores?
- What’s the orientation of the gills or pores to the stipe?
While some gills end right when the stipe begins, others run down the length of the stem. Some gills fork into a Y-shape and some alternate between a full-length gill and a short, partial gill. These small and delicate details are easy to look past, but can be key to the identification of a mushroom!
Step 6: Ask around
Get a second opinion. Mushroom hunting isn’t like birding: You won’t scare your subject away if you are chatting with a friend! Mushroom hunting is a fun activity to share, and confirming your ID, especially with an expert from your local mushroom club or friendly arboretum staff, can be a great way to learn!
Happy mushroom hunting!
My biggest piece of advice is to be detail-oriented. Fungi are incredibly diverse and different species can look very similar, therefore mindfulness and attention to detail are important traits for even the most experienced mycologist!
This article is by no means exhaustive, and if the curious reader is ready for more information, we are offering two relevant classes this fall: One is a talk on foraging in Northeast Ohio, and the other is a foray in collaboration with the Ohio Mushroom Society! We hope that you will join us for one or both of these exciting classes – see you there!

Claudia Bashian-Victoroff, MS
Research Specialist
I am a fungal ecologist focused on connections between soil fungi and tree health. My research couples field collections with modern molecular identification methods to investigate ectomycorrhizal species diversity and function. As a research specialist in Dr. David Burke’s lab at the Holden Arboretum, I support research on soil ecology and forest pathology. Currently, I focus on the role of soil fungi in urban canopy restoration in Cleveland, OH.


